Create and modify a scenario
Written By Talia Livio
Last updated 9 months ago
Your newly created event includes an empty scenario. You can change the name of the scenario by clicking on the edit icon (to the right of your scenario title), then saving your data by clicking on the "save" button on the right side of the screen.
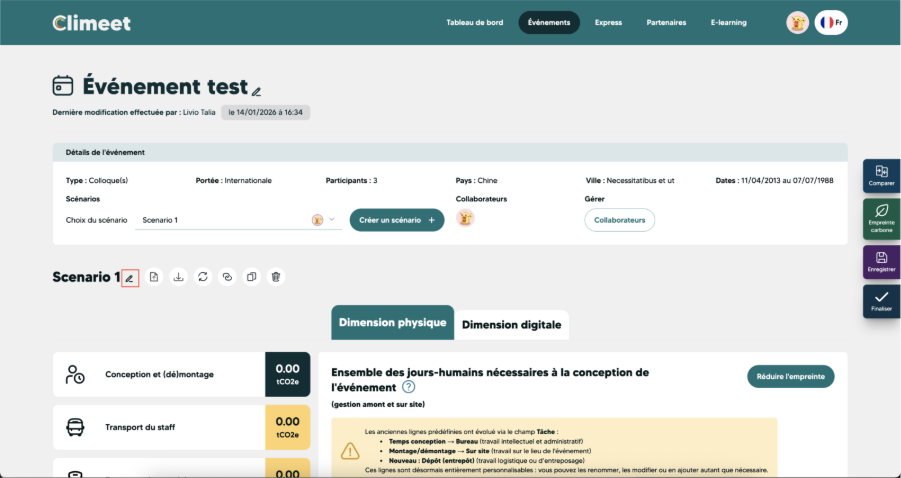
You have access to all the emission items related to an event's carbon footprint. The "physical" and "digital" dimensions are separated into two distinct tabs. Depending on the nature of your event, not all emission items will need to be filled in.
By clicking on the category tabs on the left side of the screen, you can access details on the various emission items.
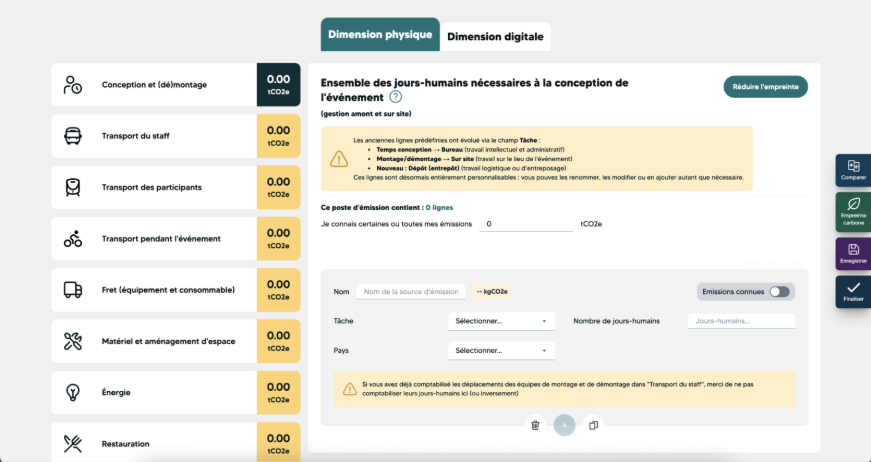
You can complete the data in two different ways, which can be complementary.
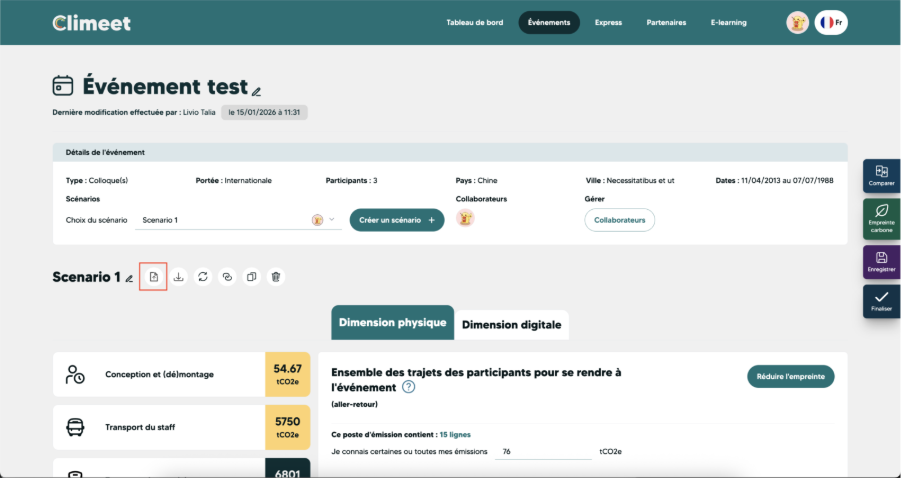
You can either import one or more data collection files by clicking on the import icon to the left of the scenario name.
Or you can manually fill in each line of your scenario.
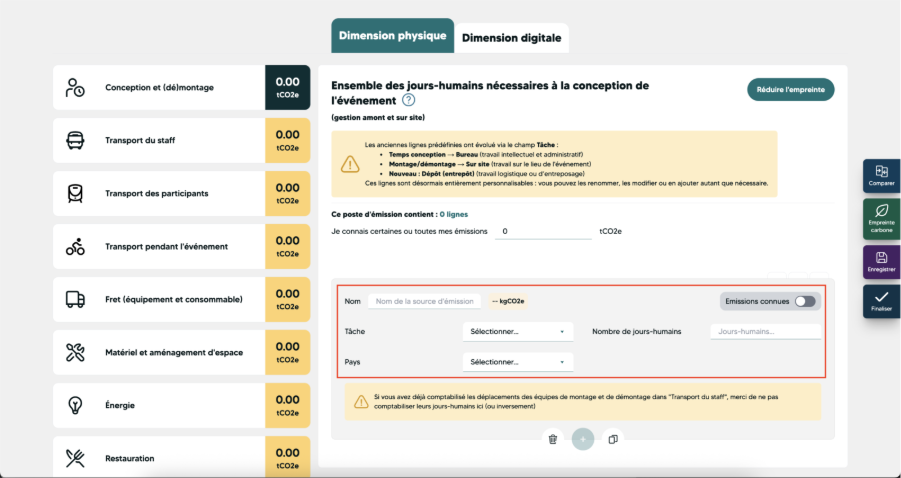
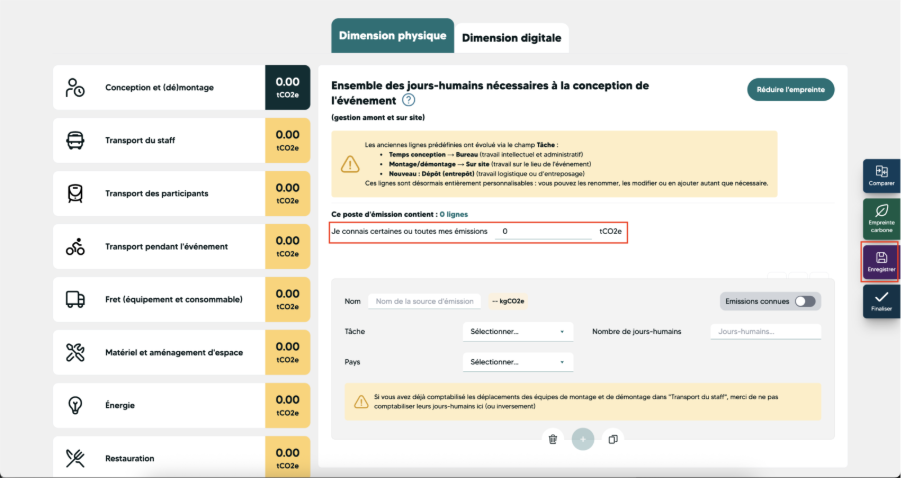
The data you have entered is saved directly in the calculator, and you will then obtain the provisional results in KgCO2e for each line completed. Except for the line "I know some or all of my emissions," to save this line you will need to press the "Save" button.
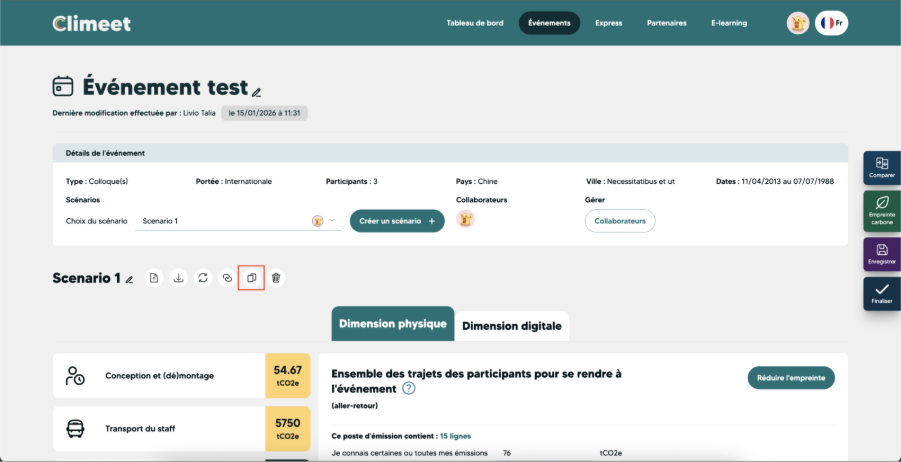
Duplicate a scenario
The "Duplicate" function allows you to duplicate the scenario of your choice. This function is useful, for example, when you want to modify a single element in order to calculate the associated reduction. You can duplicate as many scenarios as you wish.
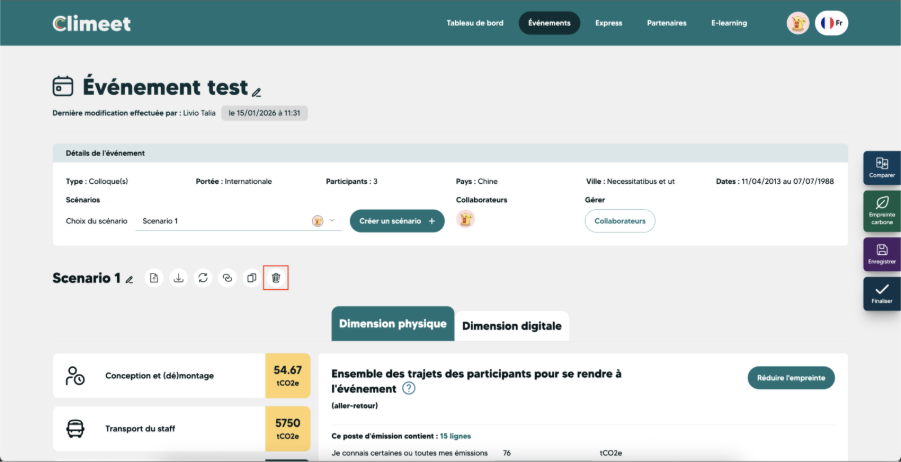
Delete a scenario
The "Delete" function allows you to permanently delete the scenario displayed. You will be asked to confirm your choice to avoid any errors.
Was this helpful?
Still need help? Share an idea